
Masculine Card Set for AECP Level 1 Project

Today, we are going to look at making a gift set of cards for the men in our life. I have 2 boys and a husband, so I get lots of opinions on how they want masculine cards to look. I will take you through the making of each card, but for full details make sure to watch the YouTube tutorial.
I chose to focus on the “For the Guys,” “Let it Shine,” and “Easy Die Cutting” classes for this set. In “For the Guys” class, I really loved creating bold geometric designs which I added to my cards. In my “Let it Shine” class, I learned tips for adding classy, subtle shine and put some accent of this on all my cards. The “Easy Die Cutting” class gave me the idea for inlaid die cutting and stenciling with my dies.
Card #1:

This card base uses the inlaid die cutting technique for the background. Once I fit together all these pieces, I started heat embossing the images on vellum.

For my boys and husband, the font makes a difference on how masculine a card is. You will notice that I chose block and simple lettering for fonts to make it feel more masculine. For the main image, I heat embossed vellum and used copic markers to color the back of the cupcake.

Last, I put all the pieces together with a rectangle die cut from gold cardstock.
Card #2:

First, I made a pattern with inlaid die cutting. I felt like having a different color across the bottom would make a nice place for these cupcakes to sit. The images were stamped with the same color family using a layered stamp. The sentiment was double mounted and gold heat embossed to add a little shine to this card.
Card #3:

This is the last card using the inlaid die cutting technique. I wanted to have a more geometrical look to this card so I started with this fun pattern. A tip for inlaid die cutting is shown in the next process picture. I always leave my cut die in place add tape the back with washi tape to keep from losing pieces. Once it is taped, I often glue the whole piece onto another piece of card stock to keep everything in place.

Once the background was in place, I copic colored an image of the cupcake and heat embossed the sentiment with black ink and clear embossing powder. All that was left was to put it together.
Card #4:

For this card, I wanted a window card to really highlight the image. I found a left over alcohol ink background that I felt really complemented the image. I dry embossed the background of this card, added gold metallic splatter and then attached the alcohol ink piece behind the window. The cupcake image was heat embossed with gold then colored on the back with copic markers. Finally, I added some subtle gold embellishments. With masculine cards, you must be careful not to do too many embellishments.
Card #5:

This background was die cut, then placed on a piece of card stock to keep it together. Then, I added gold metallic splatter to the front. I finished by adding the circle sentiment cut from gold card stock.
Card #6:

The last card of the set, uses a die cut as a stencil. I took a die cut piece and used distress oxide ink on craft card stock. The image was colored with copic markers and popped up on 3 pieces of thick card stock. I did add some slight shimmer to the image with my Wink of Stella pen. Gold washi tape stripes were added. Last, I heat embossed the sentiment with navy embossing powder.
Packaging:

I started with an acetate box and scraps from my card making. All these pieces were die cut into various shapes and sizes of tags.

I did some stenciling on the largest tag with gold ink. Next, I felt this needed something extra so I set out to make a tassel for the tag. I achieved this tassel by using my “the Works” tool. This was added with the tags to some twine in my scrap drawer to wrap around the box.

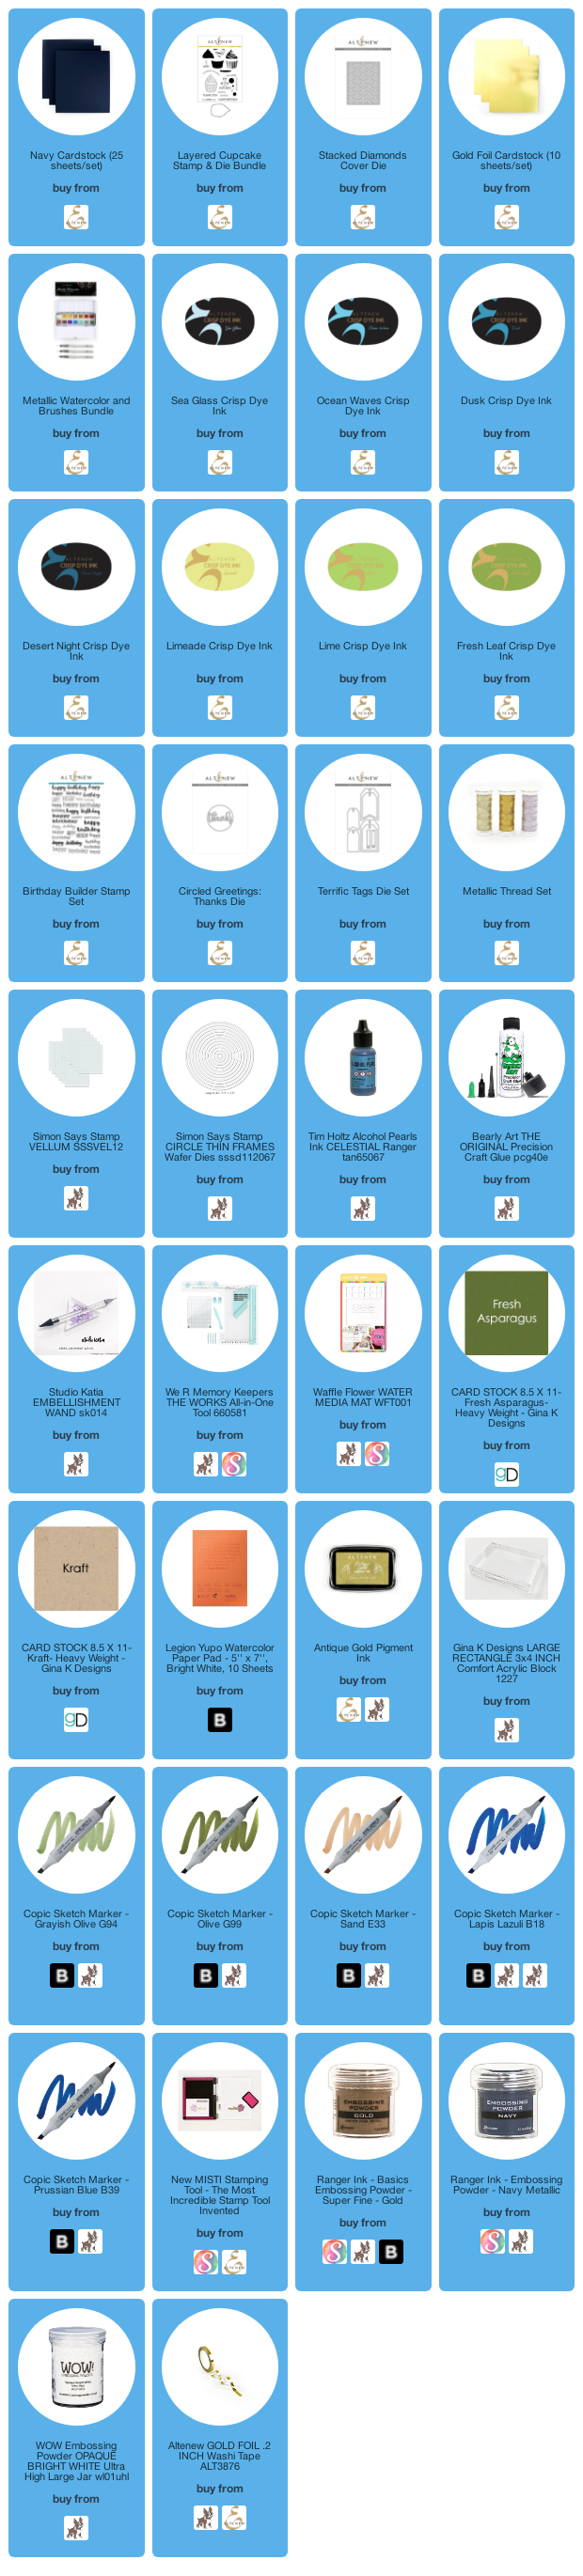
I hope you have enjoyed these cards and packaging. Make sure to click through the links listed below as they give me a small commission and help support running my blog and YouTube channel.

This Post Has One Comment
Comments are closed.
GIRL! You rocked the masculine card set! I love these colors together. Blue and green and my favorite colors! Your cards look absolutely fantastic, now off to see the other set!